

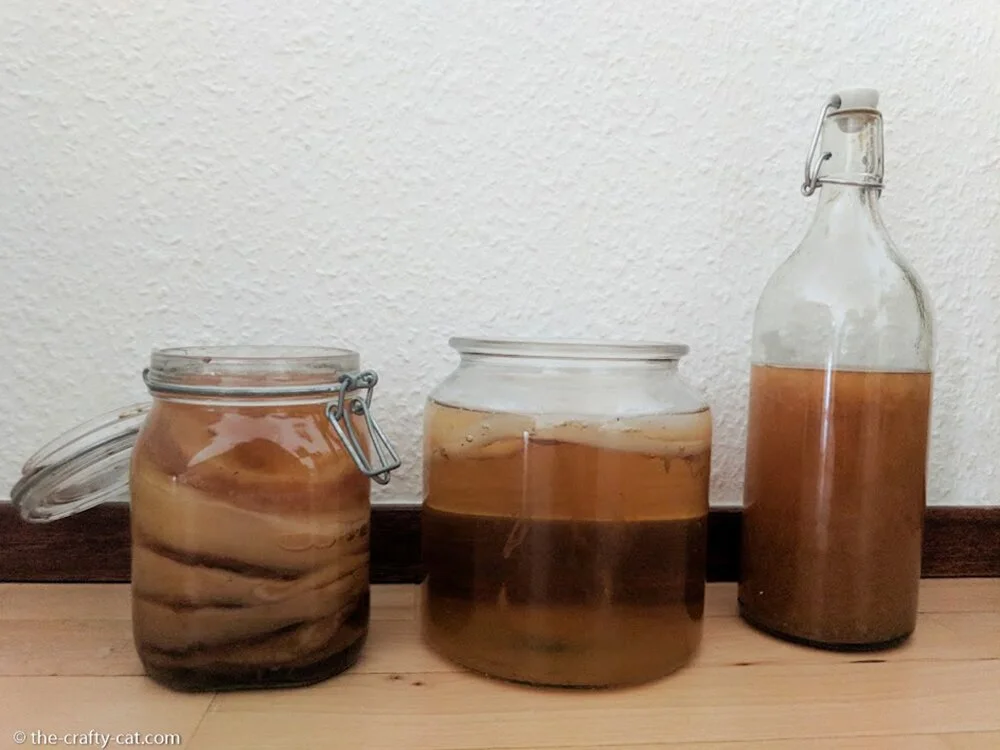
I’ll be honest with you, I never much enjoyed pickled foods and almost never had any at home. That is until I started experimenting with vinegar pickling my own food. Once I understood the basics I realized how much freedom vinegar pickling my own foods gave me and was able to experiment and find creations that I really enjoy now.
What is the difference between vinegar pickling and fermentation?
Pickling and fermentation are both methods to preserve food without refrigeration. As such they have been used for centuries and most countries have their own pickling or fermentation recipes that are part of the local food culture (like Sauerkraut in Germany). While some see fermentation as a type of pickling due to the similarities between the two methods, there are some distinct differences that set them apart.
Both in pickling and fermentation the low pH value (4.6 or less), i.e. high acidity is key. It kills any harmful bacteria and helps preserve the food. In vinegar pickling the low pH is achieved through the addition of a vinegar brine as the name implies. In fermentation, on the other hand, the acidity is the result of naturally occurring bacteria which interact with the sugars in the foods. Unlike in pickling, no acid is added when fermenting.
In addition, vinegar pickling usually calls for the use of heat. The vegetables (or other foods) are submerged in a heated brine in order to kill any microorganism and inhibit further growth. Pickling is generally faster than fermentation and produces a different type of flavor.
Refrigerator vs. canned pickling
When you search for pickling recipes on the internet you may notice that some recipes are for canning and some are so called ‘refrigerator pickles’. Refrigerator pickles are pickling recipes that aren’t meant for long-term storage but are simply stored in the refrigerator right after they are made. They usually last for about 1 month and should then be discarded.
If you wish to make your pickled vegetables or fruits shelf stable you will want to select a recipe suitable for water batch canning. This means that the finished product will contain at least 2.5% acetic acid (more on that later) and have a pH value of 4.6 or less. Most recipes from reliable sources such a those from Ball Fresh Preserving usually fulfill these conditions.
What can you pickle?
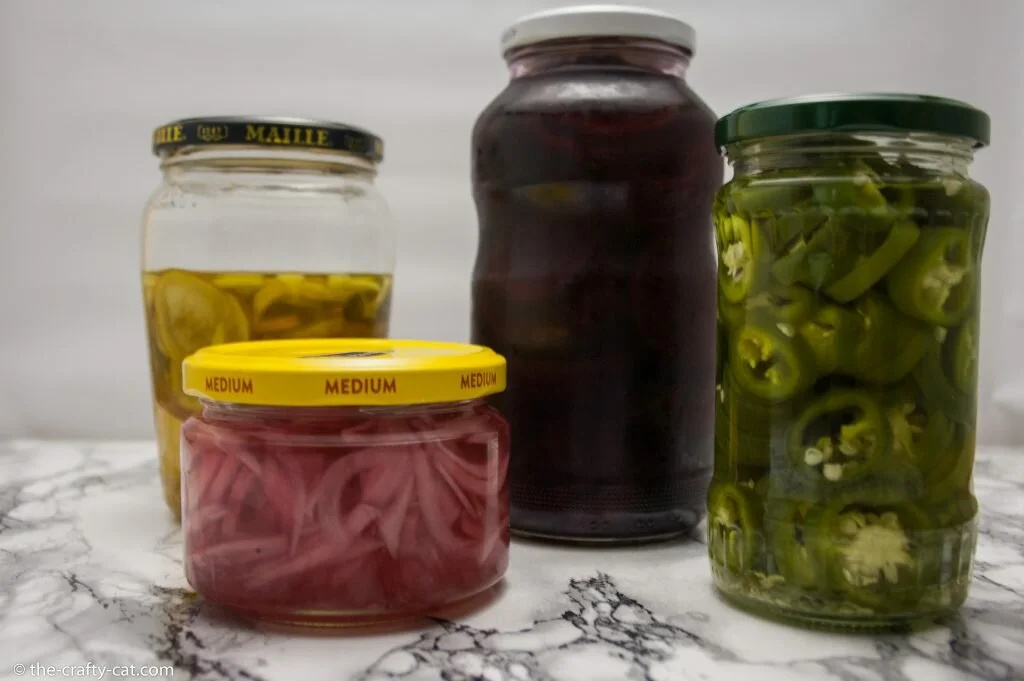
The possibilities of what you can pickle are nearly endless. From the standard cucumber pickle to things like watermelon rinds or eggplant, there is a pickling recipe and tradition for nearly anything.
You can even pickle meat, fish and eggs. Although if you are still learning the pickling basics I would recommend sticking to vegetables and fruits. Here are some common vegetables and fruits that taste great pickled:
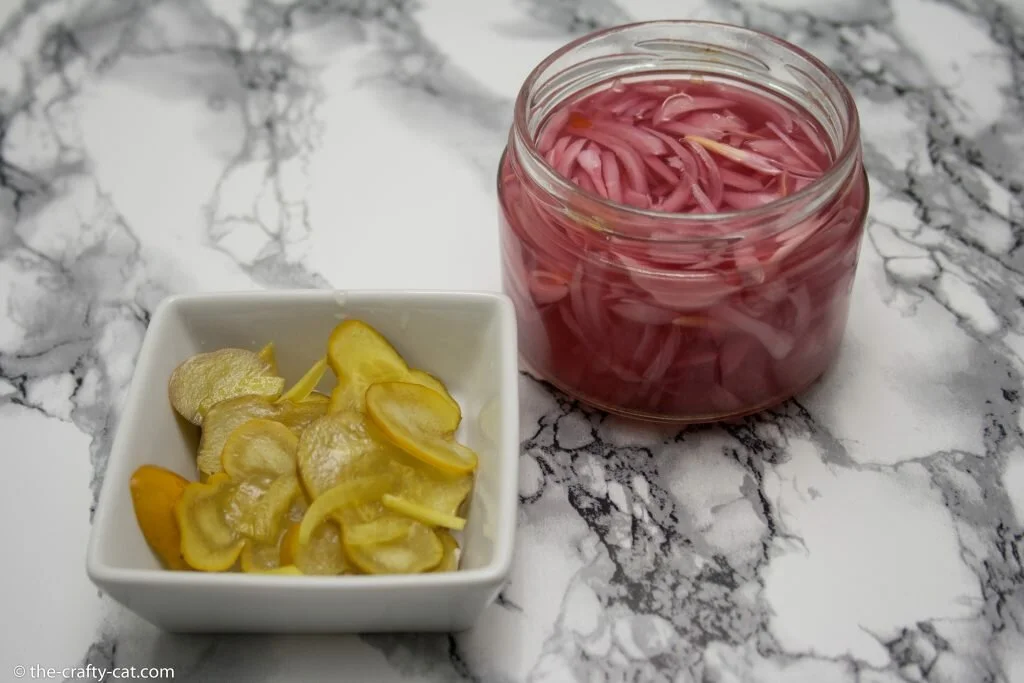
Cucumber, onion, jalapenos, plums, peppers, chili peppers, pineapple, asparagus, pears, beets, artichokes, carrots, ginger, lemons, tomatillos, green beens etc. (the possibilities are almost endless).
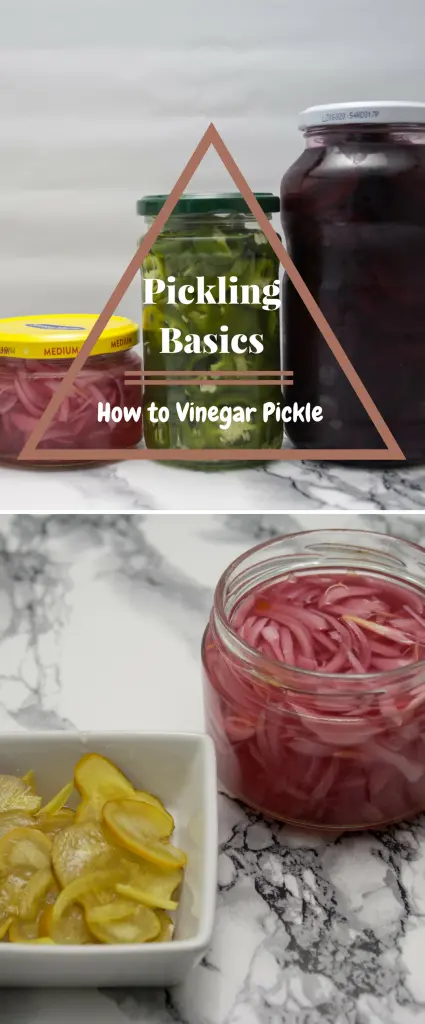
If you enjoy this post about pickling basics, don’t forget to pin it!
Salt & herbs for brining
Many recipes call for pickling salt or canning salt. This is because many types of table salt contain additives such as iodine or even anti-cracking agents. The most foolproof way to go is to use pickling salt, however, if you don’t have access to that, you can also use pure kosher salt or sea salt. It is important to make such a substitution by weight and not volume as the different granule sizes affect the volume. If you are unlucky, your brine may turn cloudy, as a result of the substitution but this shouldn’t affect the flavor and definitely not the safety of your pickled product.
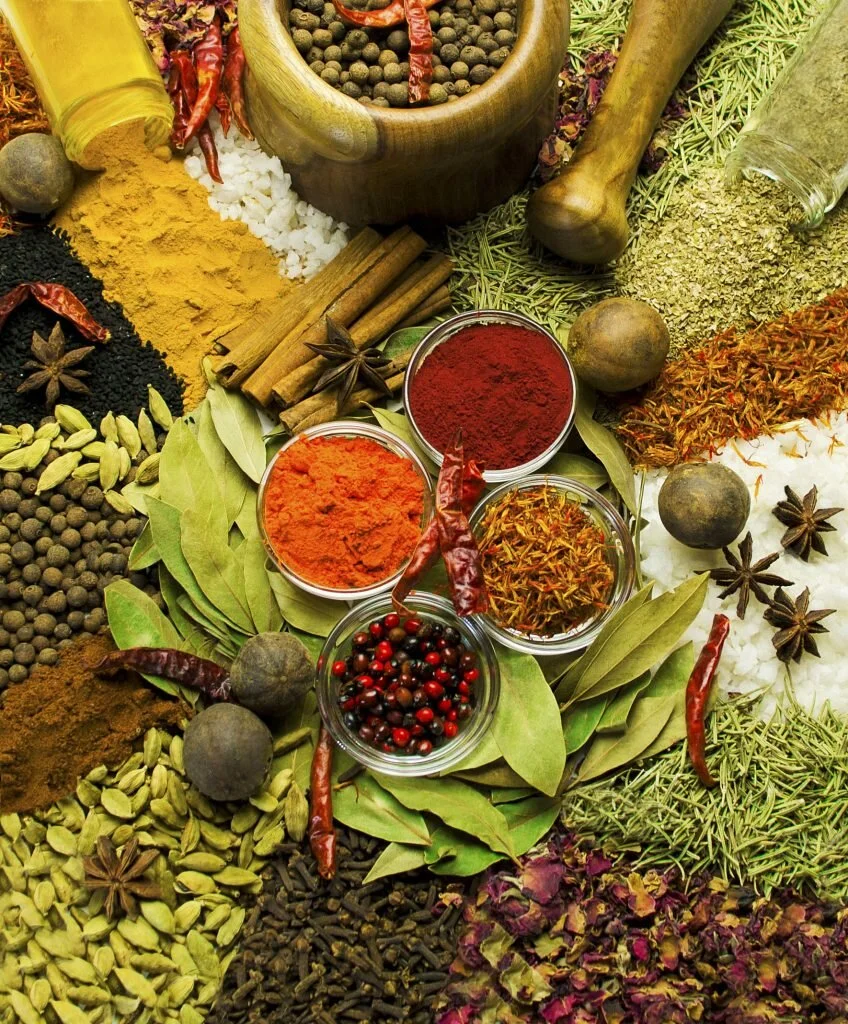
Most recipes also call for different herbs to be added to the brine. These add depth of flavor and can help enhance the quality of your pickled product. You can use herbs fresh or dry and mix and match them as you desire.
Here are some herbs and spices that are popular when vinegar pickling:
Dill, garlic, chili flakes, peppercorns, cloves, celery seed, nutmeg, bay leaves, turmeric, mustard seeds, cumin etc.
Basic vinegar brines
A vinegar brine contains two basic components, vinegar and salt. Some recipes call for water, this is purely for flavor reasons to reduce the tartness of your pickled product. I personally prefer those, but you can also pickle without water, it is in fact the safer way to do it.
If you wish to can your vinegar pickles, the ratio of vinegar to water should never exceed 50-50. It is also important to keep in mind, that the water in your fruits or vegetables also affects the vinegar to water ratio. For example very watery produce, such as cucumbers, should have a brine with more vinegar than drier vegetables.
You can use most types of vinegar for pickling (stay away from thick ones like balsamic and vinegar mixtures that have been diluted with other things). For a basic vinegar brine I recommend distilled white vinegar.
Once you grasped the pickling basics, feel free to experiment with other vinegar such as apple cider vinegar. When doing so, keep an eye on the acetic acid content (usually found on the label). If you wish to use a vinegar with less than 5% acetic acid (such as many salad vinegars), you must mix it with a higher acetic acid vinegar if you want your pickles to be suitable for canning. Your brines should contain at least 2.5% acetic acid when water bath canning the pickles afterwards.
Depending on the flavor you wish to achieve you can also add sugar to the brine. Below you can find two basic vinegar brine recipes, one for a sweet and one for a salty brine.
Basic salty brine
Makes: 4 cups / 1 liter
You will need:
- 3 cups distilled white vinegar (750 ml)
- 1 cup Water (250 ml)
- 2 tbsp sea salt
- 1 tbsp sugar
Combine all ingredients in a saucepan over medium heat. Let the mixture come to a boil and stir until the sugar and salt have dissolved. Allow the brine to boil for 2 minutes then remove it from the heat.
Basic sweet brine
Makes: 4 cups / 1 liter
You will need:
- 3 cups distilled white vinegar (750 ml)
- 1 cup water (250 ml)
- 1 cup sugar
- 1 tbsp salt
Combine all ingredients in a saucepan over medium heat. Let the mixture come to a boil and stir until the sugar and salt have dissolved. Allow the brine to boil for 2 minutes then remove it from the heat. Immediately pour the hot brine into your jars with vegetables/fruits. Seal the jar and allow to cool. Store in the refrigerator for up to 1 month or check the pH level (using something like this or this). If it is 4.6 or below you may water bath can your pickled product.
Basic vinegar pickling recipe
- Clean and sterilize your jars. To sterilize boil them for 10 minutes or run them through the sterilizing cycle in your dishwasher.
- Wash and chop the vegetables or fruits into uniform sizes. Any size will work, but the larger the chunks the longer it will take for the brine to penetrate and the pickles to be done. You may blanch denser vegetables such as carrots, beets, Brussels sprouts to help soften them and allow the vinegar to penetrate better.
To blanch a vegetable, simply submerge the chopped pieces in boiling water for 2 minutes, then transfer them to a bowl of ice water to stop the cooking process. - Pack your vegetables into a jar. Pack it tightly, but not too tight, so that the vinegar can still cover everything.
- Add any desired spices and herbs to the jar.
- Pour the hot vinegar brine over the vegetables/fruits. If you wish to can the pickles, check the pH using a testing strip or meter to ensure it is 4.6 or less. Then seal the pickle jars.
- Either allow to cool and store in the refrigerator for up to 1 month or water bath can the jars to make them suitable for long-term storage of up to 2 years.
Feel free to experiment and discover your favorite combinations! And be sure to share them with me (@laurathecratftycat on FB & IG)
Products from Amazon.co.uk
-
 -6%
6 Pack BALL MASON Signature Preserving Jars 490ml WIDE Mouth with Recipe InsertPrice: £16.99Was: £17.99
-6%
6 Pack BALL MASON Signature Preserving Jars 490ml WIDE Mouth with Recipe InsertPrice: £16.99Was: £17.99 -
 Pickling Spice 250gPrice: £1.89
 -
 Morton® Canning & Pickling SaltPrice: £27.48
 -
 -17%
Braggs Organic Apple Cider Vinegar, 946mlPrice: £9.07Was: £10.99
-17%
Braggs Organic Apple Cider Vinegar, 946mlPrice: £9.07Was: £10.99 -
 Heinz All Natural Distilled WHITE Vinegar 946mlPrice: £10.99
Similar posts you may enjoy


Leave a Reply