

Ah, beeswax wraps. What can i say about them other than the fact that I love them? Ever since I made my first beeswax wrap, I have been making more and more of them and using them for everything. Anything I used to use plastic film for I now use my beeswax wraps instead. I haven’t used plastic film a single time since I started making beeswax wraps.
The materials you need
Fabric
The great thing about beeswax wraps is that they are super easy to use and make. You really only need some sort of cotton fabric and beeswax. I had some patch working fabric leftover that I got on Amazon I while back (like this one). This type of fabric (usually cotton poplin) works great because it has just the right thickness. Here are some options on Amazon:
Products from Amazon.co.uk
-
 Blue with navy blue bear poplin organic fabric monaluna USA (per 0.5m unit)Price: Out of stock
 -
 navy blue with off-white star constellation poplin organic fabric from the USA (per 0.5m)Price: £11.01
 -
 Cream with colorful bird animal organic poplin fabric from the USA (per 0.5m unit)Price: £10.59
 -
 pink with white daisy flower poplin organic fabric monaluna USA (per 0.5m)Price: Out of stock
 -
 Grey with blue bird animal organic poplin fabric from the USA (per 0.5m unit)Price: £9.93
If you don’t have any of that at home, you can also repurpose old cotton sheets or covers. Just make sure the fabric is cotton and not too thick. If your unsure if your fabric will work, just try a little piece and see how it comes out. Another thing is that I personally always try to opt for organic cotton because of the heavy pesticide use in cotton production and I wouldn’t want any traces of that in my food. Either way you should always wash the fabric before you use it.
Beeswax (jojoba oil and pine resin?)
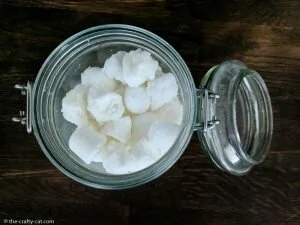
The second thing you need is beeswax. I always try to get that as local as possible, preferably directly from the farmer or in bulk. If you can’t find any near you, Amazon also sells that. Whether you get white or yellow beeswax doesn’t make any difference.
Some recipes also include pine resin and jojoba oil. The pine resin makes for a more sticky wrap that also sticks to itself. I decided to leave that out because pine resin is rather pricey here and I didn’t want to get it for a single project. My wraps still close and hold their shape pretty well, so I also didn’t feel it was necessary.
I did make one batch of beeswax wraps with jojoba oil, which I found made the wrap more pliable and a little more sticky as well. So I would recommend using it, if you have it available. However, the wraps work just as well without it, they are just a little more stiff.
How to make your own beeswax wraps
Materials:
- 11″ x 11″ cotton fabric (30 x 30 cm)
- 1 1/2 tbsp of beeswax pellets or grated beeswax
- 1 tsp of jojoba oil (optional)
Directions:
- Cover your ironing board with a sheet of baking paper (you may also want to put an old towel under just in case, i had some oil come through). Place the cotton fabric on top.
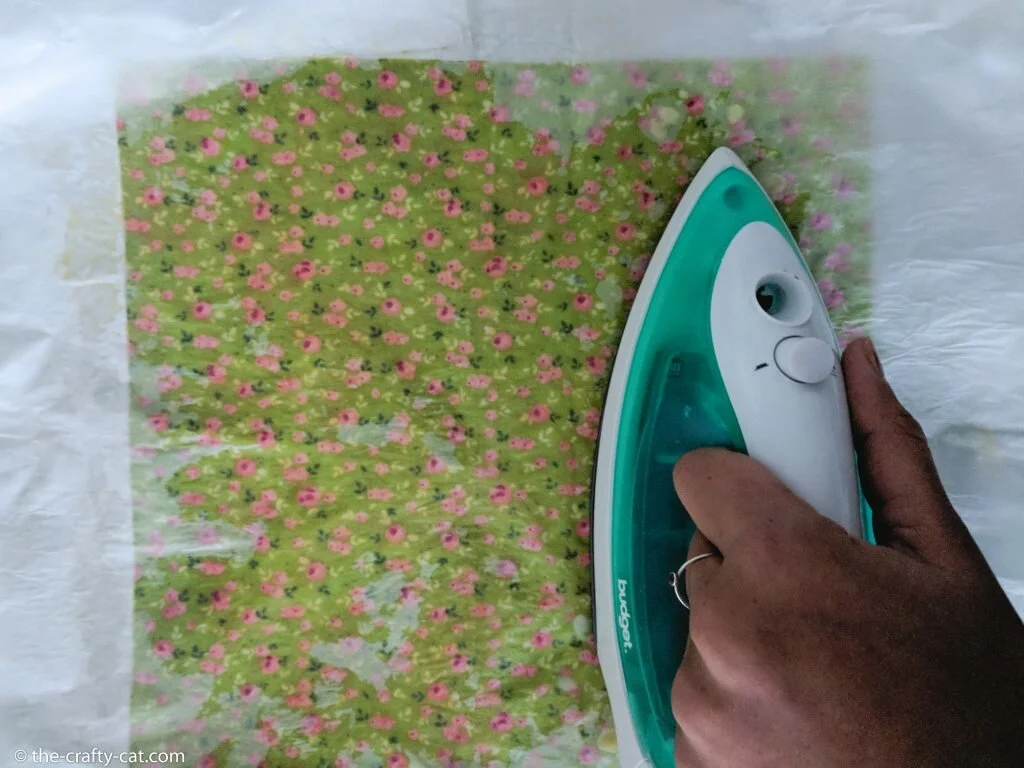
- Sprinkle the fabric evenly with the beeswax and drizzle the jojoba oil over it (if using). Then cover the fabric with another layer of baking paper.
- Iron over the baking paper using medium high heat. You should see the beeswax melt as you go over it with the iron. Make sure you distribute the wax evenly so the entire fabric is coated in it.
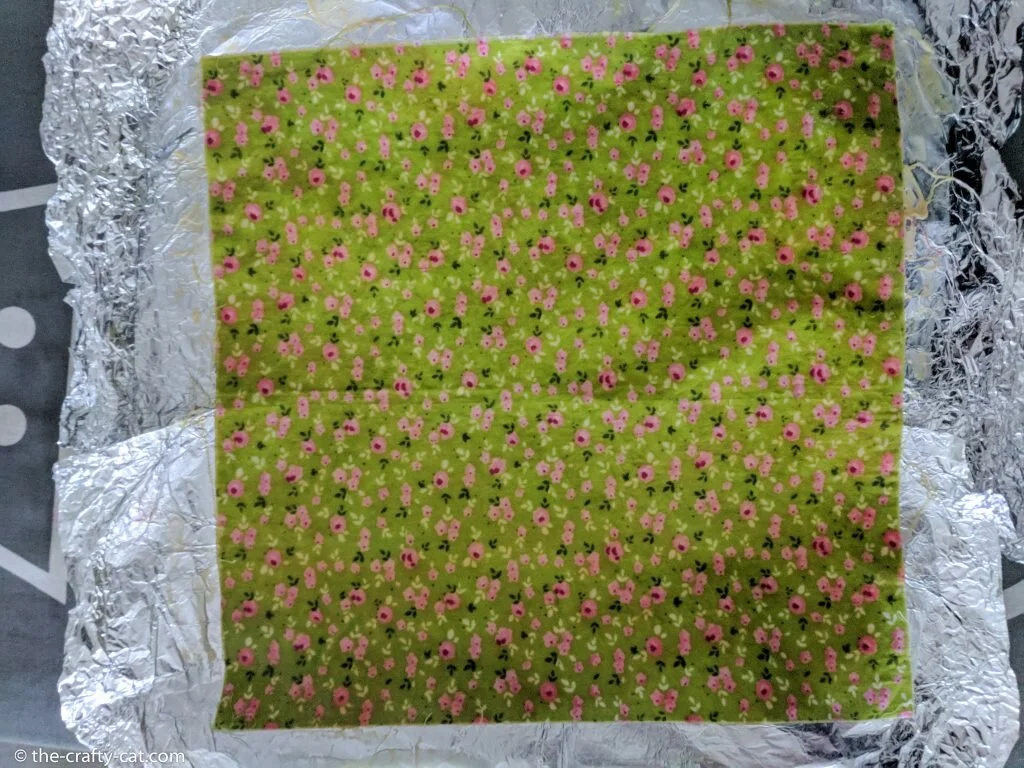
- Once evenly saturated, remove the top baking paper (while the wax is still hot and liquid and lift the beeswax wrap off the ironing board. I do this with my hands, as it isn’t usually too hot but you can also use grill thongs for this just in case. Gently wave the fabric around until the beeswax has dried and hardened. This usually only takes a minute or so. Then your beeswax wrap is done and you can move on to the next one, if your making several.
If you like this post, don’t forget to pin it!
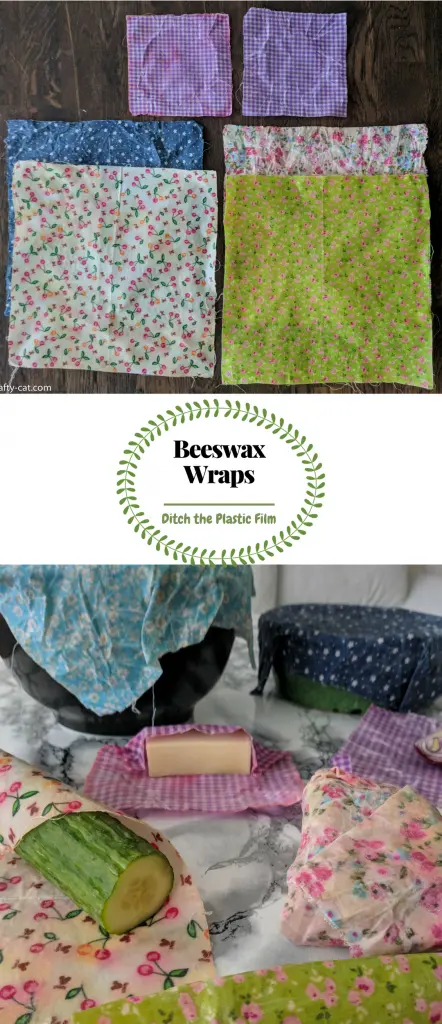
How to use and clean your beeswax wraps
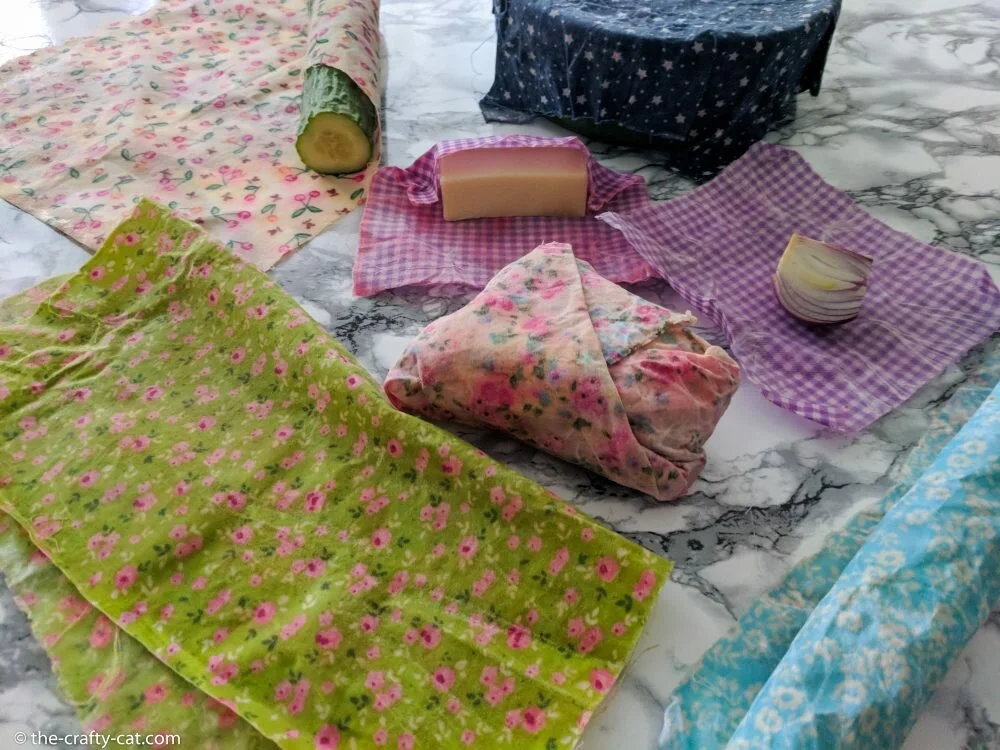
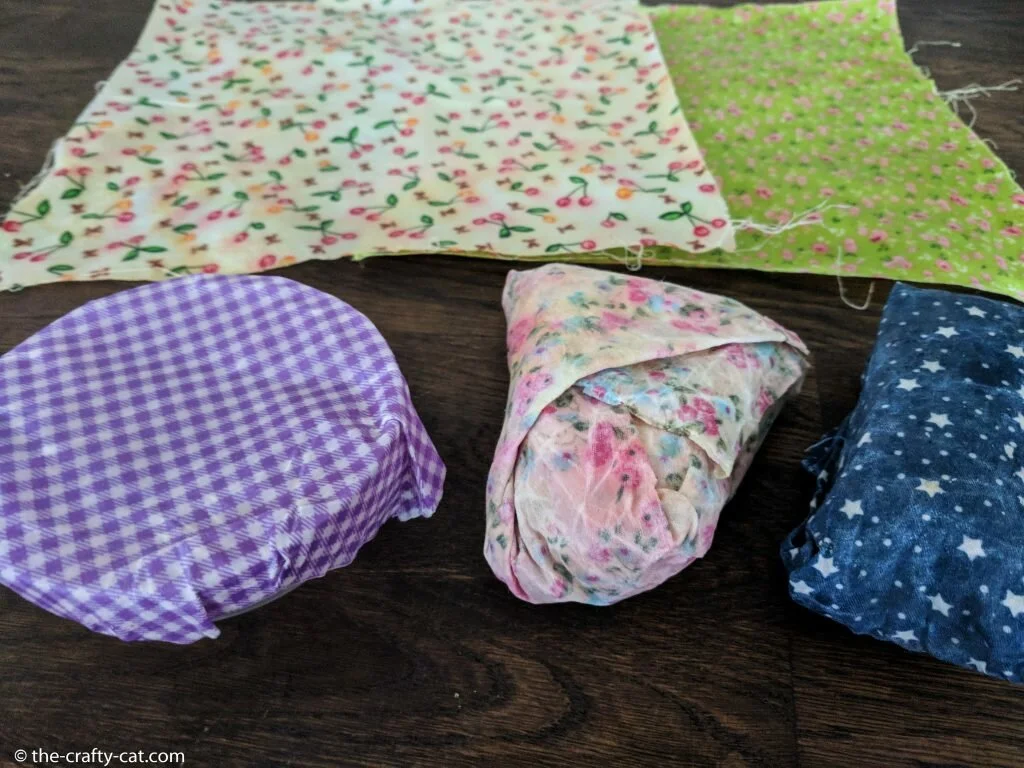
As I’ve mentioned, you can use beeswax wraps for pretty much anything. I have used it for:
- Pieces fruits and veggies
- Sandwiches
- Cheese
- Covering bowls
- Pieces of bread
- Snacks or cookies
- Pastries etc.
As you can see, the possibilities are endless. Once you are done using it, to clean it you simply wash it with cold water and a mild detergent and let it air dry. Don’t use hot water because that would melt the wax. This way you can reuse a beeswax wrap for about a year. After a while, the wax will wash or rub off. When that happens simply add new wax to your beeswax wrap and keep on using it.
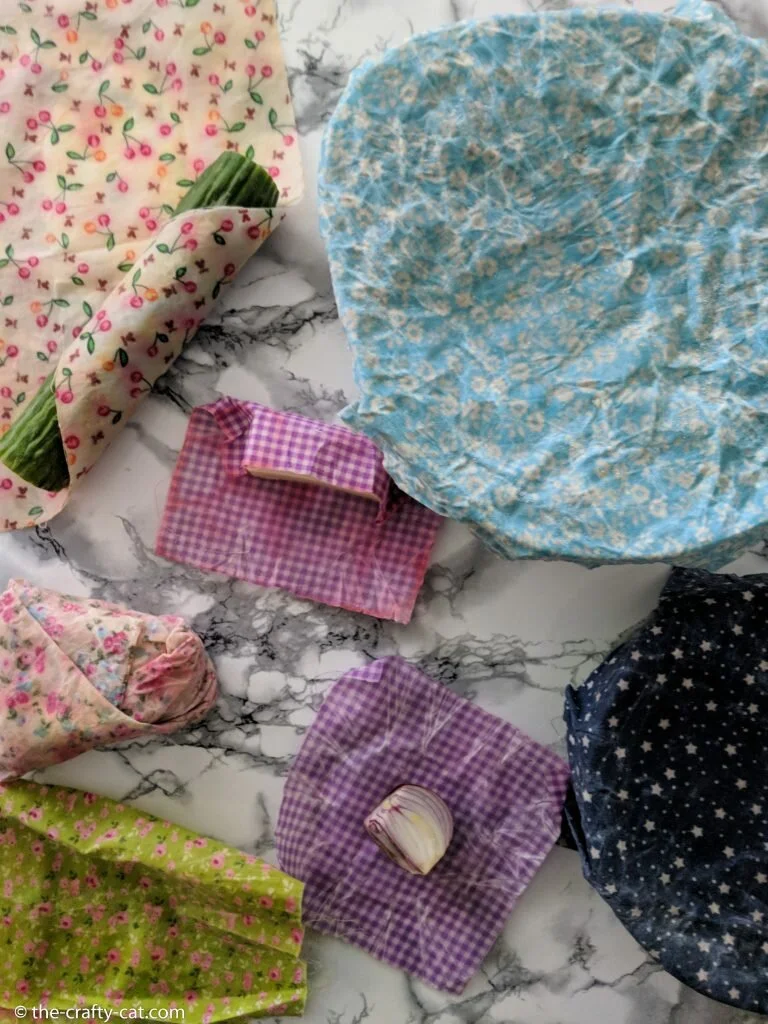
Beeswax wrap variations & upgrades
Once I had a couple of beeswax wraps in my drawer I of course immediately started thinking about possible variations or other uses for it. Here are some of the ideas I’ve come up with:
Make round beeswax wraps
Making your beeswax wraps round makes them better for covering bowls and other round containers. The process would be completely the same, but you would simply cut your cotton fabric round instead of square. You could even make sizes to match your different bowls.
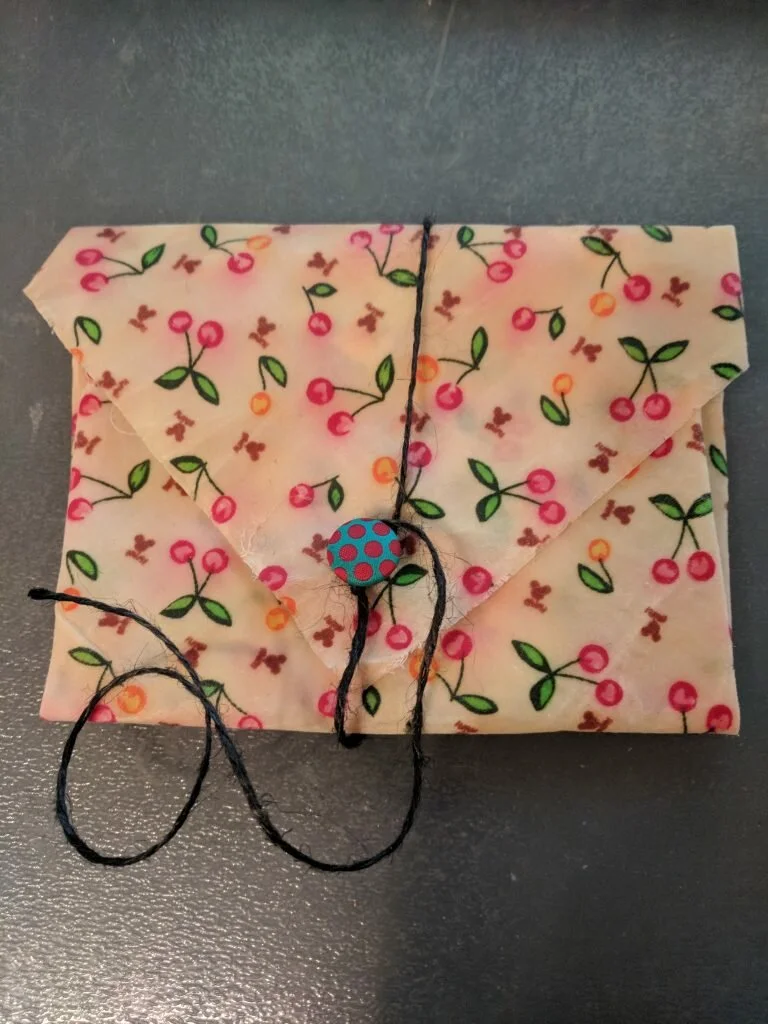
Sandwich wrap with closure
This one is great for using your beeswax wrap on the go. It gives you a little extra security that the wrap will stay closed when you have it in your bag.
To make a sandwich wrap with closure simply attach a button and string to one corner of a wrap. Then to close it you would fold your wrap like an envelope, wind the string around it and wrap it around the button several times. That way you have a more secure closure for using the wrap as a sandwich or snack wrap. This is one of my favorite upgrades that I have made and used several times already.
Snack pouch
If you have a sewing machine (or probably also by hand) you could also sew the wrap into a pouch rather than just folding it like in the previous variation. That way you could more easily transport loose items like nuts or candy without having to worry about small items slipping out.
I haven’t done this one yet, because my sewing machine is still at my mom’s house, but all you would need to do is fold it into an envelope shape and then sew it together. If you are interested in seeing a more thorough tutorial on this, let me know and I will post one in the future once I got my sewing machine.
Shop materials for this post:
Products from Amazon.co.uk
-
 ArtNaturals 100% Organic Jojoba Oil - (4 Fl Oz/120ml) - Pure & Natural Cold Pressed Unrefined- Moisturizer for Face, Hair, Skin, Nails, Cuticles, Stretch Marks & Sensitive SkinPrice: £12.95
 -
 LiveMoor 200g Yellow Beeswax Pellets-100% Pure and NaturalPrice: £3.99
 -
Blue with navy blue bear poplin organic fabric monaluna USA (per 0.5m unit)Price: Out of stock
-
Cream with colorful bird animal organic poplin fabric from the USA (per 0.5m unit)Price: £10.59
-
navy blue with off-white star constellation poplin organic fabric from the USA (per 0.5m)Price: £11.01
Other posts like this one:
This post has been shared on: Homestead Blog Hop


8
Leave a Reply
LOVE this and am definitely going to try it!! Thank you for the great instructions.
Glad you enjoyed it, let me know how you like them 🙂
I am intrigued! I can’t wait to harvest some wax from our hives to give this a try.
🙂 gwingal
Hope you enjoy it. Also, I love the fact that you have hives, would love to have my own one day!
LOVE this post!!!
Thanks Laura for the post. I used all your advice and made my first beeswax wraps (it’s so much easier to type that on the keyboard than to say it without struggle, uff 😉 ). We’ve adopted your recipe in my studio where we teach people how to upcycle. Since many of our customers were asking for vegan alternative we’ve started using candelilla wax. It is slightly more expensive but we haven’t tried it yet. Have you used candelilla? If so, what is your experience with this material?
Hi Caroline,
I’mso happy to hear that you are showing more people this great alternative! I unfortunately have not had a chance to try candelilla wax so far because it is quite difficult to get here in Denmark where I live. However, from my research I found it to be the most popular alternative as it is less “waxy” then carnauba wax and cheaper than many other vegan alternatives. Let me know how it goes if you try it?
Great idea trying to avoid using cling film and this suits just fine thankyou