Have you ever heard about the so-called second fermentation in kombucha brewing? Well, now is your chance to learn all about it. If you are completely new to kombucha I would recommend starting with the first post in my start making kombucha series as it covers all the basics of brewing your own kombucha. Once you’ve made your first kombucha, you can simply drink it right after the first fermentation. Many people simply do that. Don’t get me wrong, it is perfectly fine to drink your kombucha straight away. However, if you want to take your kombucha game to the next level or simply would like to be able to have different flavors of kombucha, you should try doing a second fermentation.
Second fermentation not only carbonates the kombucha but also allows you to add many different flavors to make your kombucha more to your liking. It is also the point at which you can add extra sugar if you want your kombucha to be more sweet and soda-like.
Flavoring your kombucha
The possibilities for flavoring your kombucha in the second fermentation are almost endless, which is great considering that you are quite limited in the choices of tea you have during the first fermentation. You can use:
- herbal tea
- fruit juice
- fresh, frozen, or dried fruit
- herbs fresh or dried
- cordials or syrups
Depending on what you use the amount of flavoring you need will vary, therefore it is hard to give exact measurements. As a rule of thumb, you want to do no more than 30% flavoring and at least 70% should be kombucha. If in doubt, start with less and check the flavor after about a day or so to see if you like it. Certain ingredients like ginger or mint can become quite powerful while others have a much milder flavor. In addition, adding too many fresh fruits or sugary juices can also increase the chance of mold forming in your kombucha during second fermentation if the amount of sugar gets too high.
The amount of sugar that is left in your kombucha is another thing to keep in mind. Your yeast will need sugar to keep working and produce carbonation. Depending on what flavorings you use, you may need to add a little sugar for the yeast. However, if using fruit juices or fresh fruit that should not be necessary as the fruit already contains plenty of sugar.
Good flavor combinations
Here are some of my favorite flavor combinations for kombucha
- Apple cinnamon (can be done with apple juice or fresh apple)
- Lavender lemon (using dried lavender and freshly squeezed lemon)
- Blackberry lime (using my blackberry peppercorn cordial and some fresh lime juice)
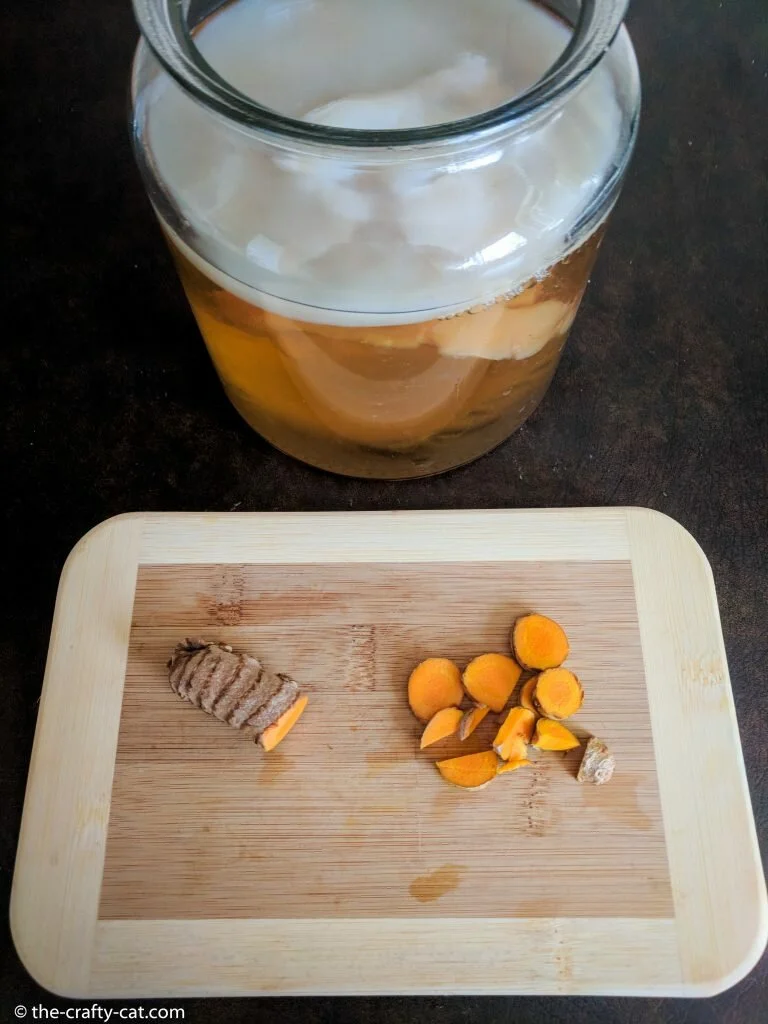
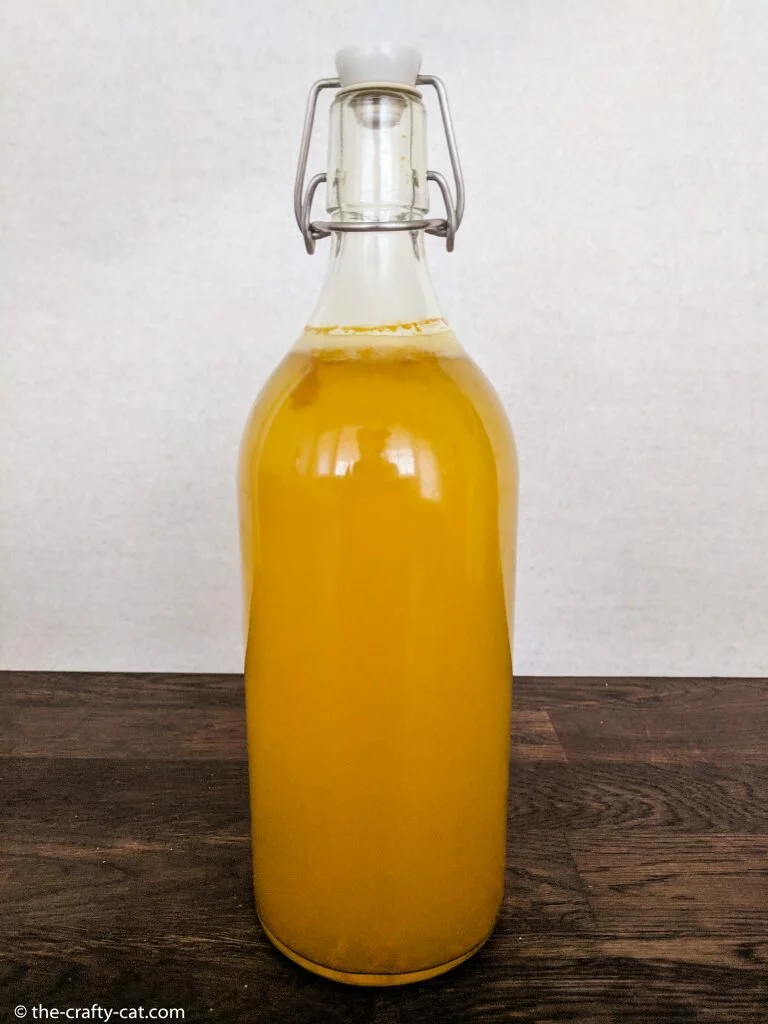
- Ginger turmeric (either by brewing ginger turmeric tea, or cutting up the fresh roots)
There really is no wrong combination, go with flavors you like and enjoy or simply with what you have on hand.
Follow me on Instagram @laurathecraftycat and let me see your favorite creative flavor combinations!
If you like this post, don’t forget to pin it!
Second fermentation
Now that you have some ideas about what flavors you could make your kombucha, let’s discuss what the second fermentation is and what it does. As mentioned before, the purpose of the second fermentation is to carbonate and flavor your kombucha. To do this, you bottle it into sealed bottles (ideally glass flip-top bottles), but anything airtight will do.
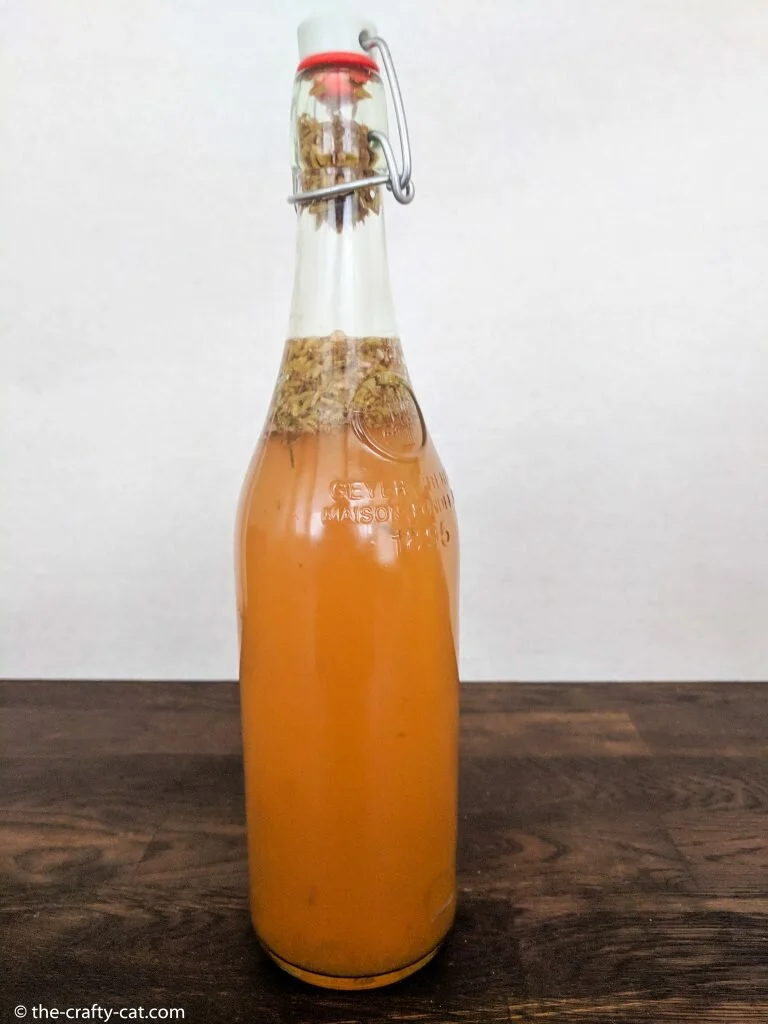
The second fermentation is much more simple than the first fermentation. All it requires is for you to add the flavorings or other additions you wish to make an airtight bottle or jar (which can be preferable if using larger ingredients). Any fresh ingredients should be chopped up or crushed to help them release flavor. Add the plain kombucha to the bottle or jar leaving about 3 cm / 1 inch of headspace. Having less headspace increases the amount of carbonation you will get. Seal the bottle and let it ferment at room temperature but out of direct sunlight for 3-5 days. Depending on your environment/temperature and the flavorings you use it may be faster or slower.
Keep a close eye on it as carbonation will build up and can break your jar if it gets too strong. If you see many little bubbles collecting on the inside of the glass, you may want to burp the bottle to release some of the pressure. I usually periodically check both the flavor and the amount of carbonation after the first day so that I can stop the fermentation as soon as the taste is to my liking. You may want to open the bottle over the sink just in case the built up carbonation causes it to overflow.
Once you are satisfied with the flavor, you can either strain out any flavorings or leave them in. Leaving in fruits may increase the chance of eventual mold if you tend to store your kombucha for a long time. However, on the other hand, it also increases flavor over time. Regardless of whether you leave the flavorings in or remove them, store your finished kombucha in the refrigerator where it should keep for a good month or so depending on the flavorings you used. Keep in mind that it will continue to slowly ferment, so you may wish to release any carbonation from time to time.
Other uses for kombucha
Beyond drinking it, there are many other uses for kombucha as well as for SCOBYs. This is where you can get really creative and inventive. In the future, I will be adding more posts about other uses for kombucha that I enjoy, but for now here are some ideas and links to others
Other food/drink uses
- Kombucha mayonnaise
- Kombuch pickled onions
- Kombucha gummies
- Scoby candy
- Kombucha vinegar and salad dressing
Non-food uses
- Kombucha soap
- Scoby facial
- Scoby dog treats
- List of extra uses for SCOBYs
Let me know any other uses for kombucha you have!




1
Leave a Reply
So thankful to have a helpful guide like this to get me through the process of making my own kombucha! Can’t wait to keep it up and continue making my own.