
Kombucha, for those of you who don’t know this, is basically fermented sweet tea. Although if you ask me, I would say that it is so much more than that. It is sweet, sour, fizzy goodness. It makes you feel energized and refreshed and it has B vitamins and probiotics to keep your body healthy. Moreover, in conjunction with my ginger bug, it has helped me completely eliminate store-bought sodas or other drinks from my diet. While making your own kombucha may seem intimidating in the beginning, it is actually surprisingly easy. You can start making kombucha following a few simple steps and it is quite a forgiving culture to keep alive. Once you start making kombucha, you won’t want to go back to storebought stuff. It simply tastes better and it saves you so much money!
If you already have some experience making kombucha and want to learn about second fermentation, flavoring and other uses for kombucha, check out my second post of the start making kombucha series.
Equipment needed to start making kombucha
The first step when you want to start making kombucha is assembling your equipment. While it may seem tempting to begin with getting the SCOBY (more on that later), I would recommend making sure you have everything you need first. It doesn’t take much, all you really need to get started is a brewing container and a cover for it. Possibly some bottles if you want to continue with a second fermentation (post on that coming soon).
Brewing container
The first thing you will need to start making kombucha is a suitable brewing vessel. There are two factors to keep in mind concerning the container: material & size.
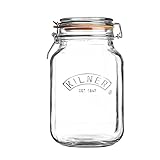
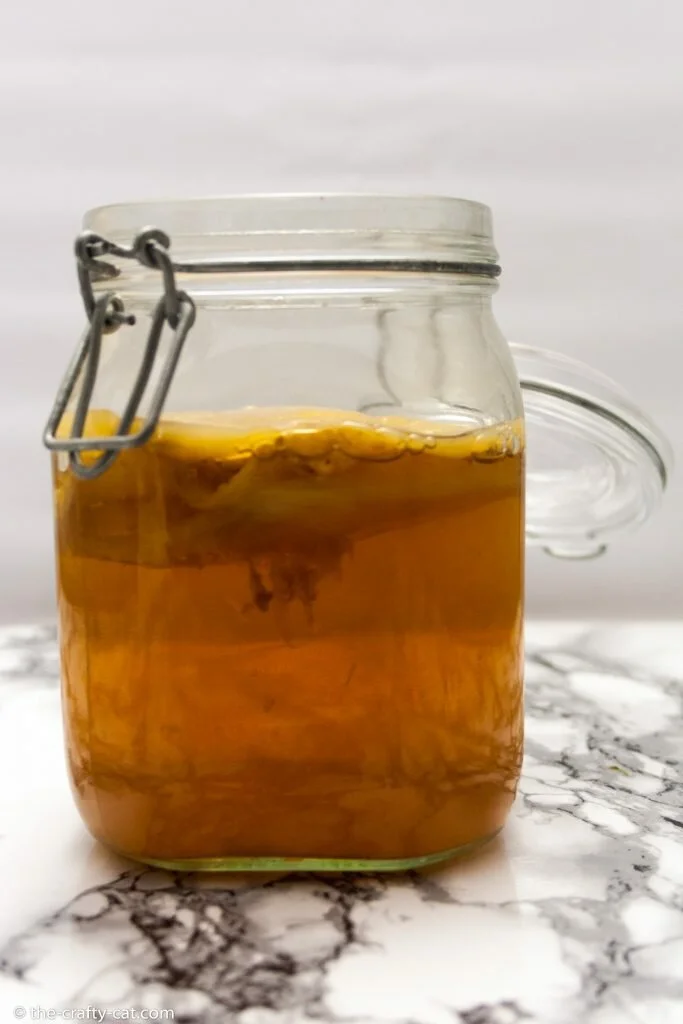
The best material to use when making kombucha is glass. It is easy to clean, won’t be affected by the acidity and because it is transparent you can easily see how your kombucha is doing. Other options include porcelain and clay. If using those, make sure you are using food-grade versions. I personally would not recommend plastic other than as a temporary solution because it can be damaged and harbor bacteria. Metal should generally be avoided when working with kombucha as it can react with the SCOBY and harm it.
You can really use any container size that is big enough to hold all the ingredients at the correct ratios (see ratios below). The container size mainly depends on consumption. The brewing time is 7-30 days depending on the acidity you like. The batch size needs to be enough for your consumption plus leftover starter tea for the next batch. I find that a half-gallon (2 liters) is perfect for me since I am the only one drinking it and I like to let it ferment for around 10 days. Another thing to keep in mind is the surface area. The larger the surface area the quicker your kombucha will ferment. In the beginning, check your Kombucha often to avoid overfermentation until you’ve gotten the hang of your vessel and process.
Products from Amazon.co.uk
-
 -38%
Kilner Clip Top Square Glass Jar, Transparent, 2 LitrePrice: £4.50Was: £7.30
 -
 -32%
Kilner Universal Storage Jar, Clear, 4 LitrePrice: £13.74Was: £20.20
 -
 Leifheit Preserving Glass Jar, 1 LitrePrice: £4.95
Container cover
The second thing you will need is something to cover your brewing vessel during fermentation. It needs to both let air in as well as keep any contaminants such as dirt, flies or dust out. I generally use a piece of cotton fabric, but muslin cloth, a linen kitchen towel, a coffee filter or even a piece of kitchen paper would work. You will also need a rubber band or a canning jar ring to secure the cover to your jar.
Bottles
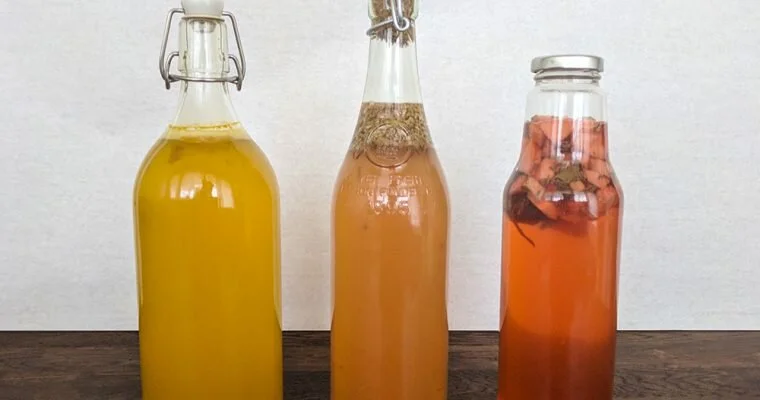
Finally, I would recommend having bottles to put your finished kombucha in. Glass flip-top bottles are ideal because they create an airtight seal which allows the kombucha to carbonate after you bottle it. A bottle like this would also be necessary if you wish to make flavored kombucha. Other types of glass bottles may work as well, I haven’t tried any though. I advise against plastic bottles for the same reason as above since they are simply much more likely to cause contamination as well as much less durable.
Other useful equipment to have on hand are things like a funnel, a loose tea infuser or mesh ball, strainers as well as wooden (or plastic utensils) for stirring.
Ingredients needed to start making kombucha
The next step you need to take to start making kombucha is assembling all your ingredients. As I mentioned before, the base for kombucha is sweetened tea. In order to turn that tea into Kombucha you need some starter liquid as well as a SCOBY. In the following, I will go through each of the ingredients needed, where you can get them and what you need to look out for.
Starter liquid
The first thing you need is some starter liquid, that can be some kombucha from a previous batch you have made (if you aren’t a complete beginner), store-bought kombucha (unpasteurized & unflavored), or distilled white vinegar (if you got no other option). Liquid from a previous batch is ideal. However, all three options will work. The tea starter is used to ensure that the liquid is acidic enough to prevent any bad bacteria from multiplying inside your kombucha.
SCOBY
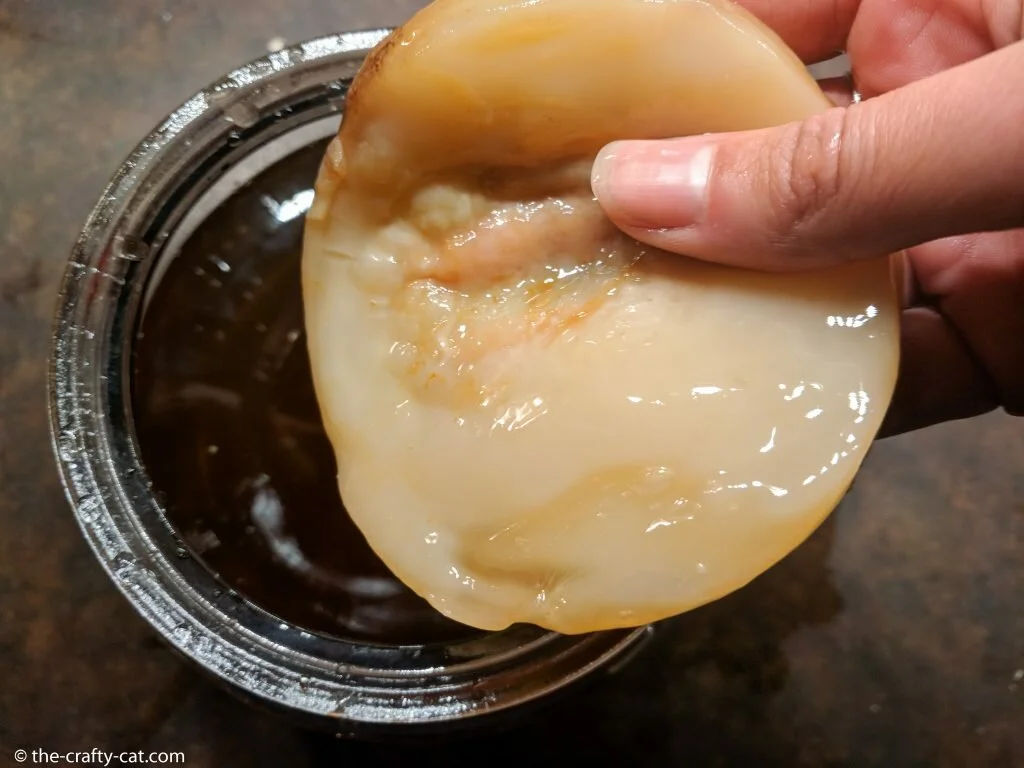
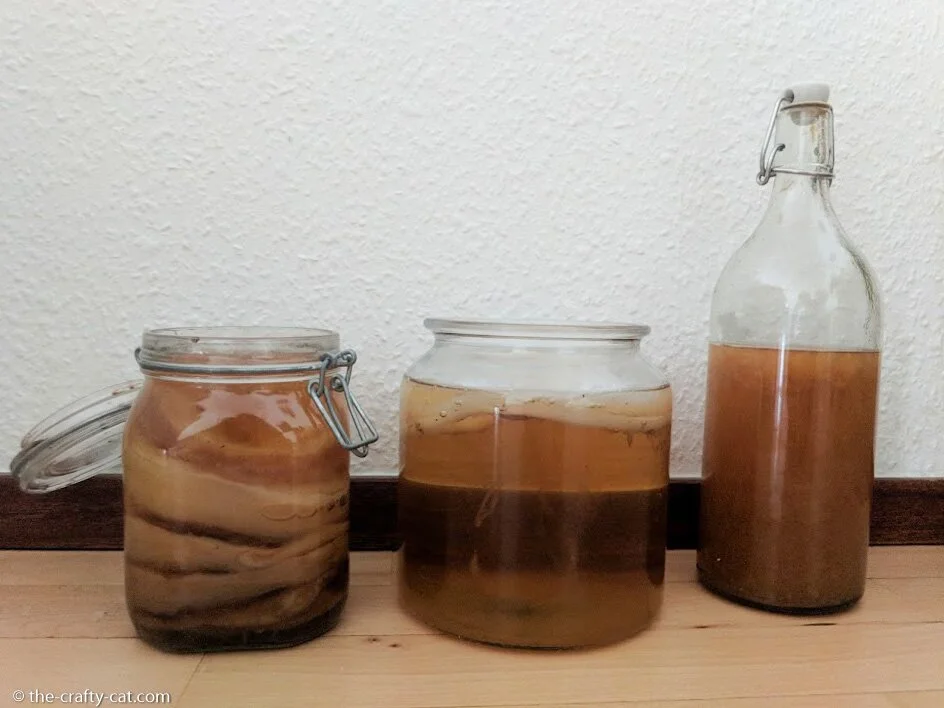
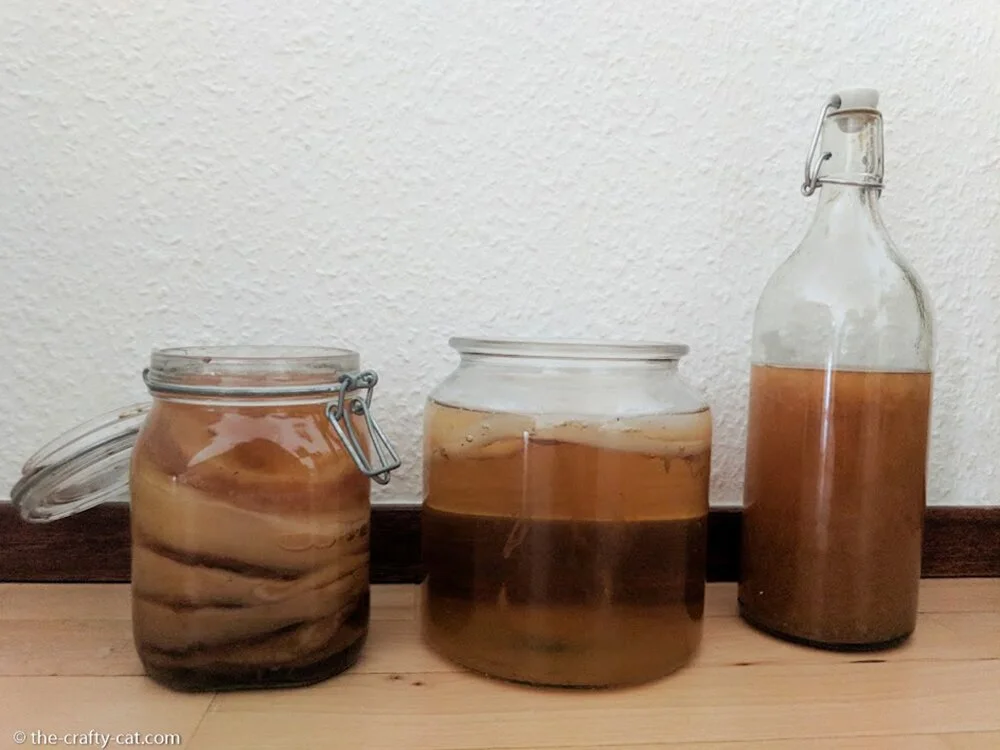
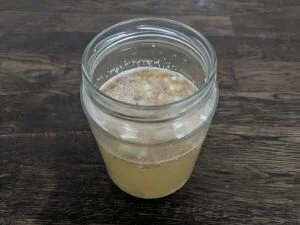
The next vital ingredient to start making kombucha is a SCOBY (Symbiotic Culture of Bacteria and Yeast). It is the beige (or white) rubbery mass that forms on top of your kombucha (see picture above for a close-up). It may seem a little gross at first sight but once you get into brewing kombucha you will come to love and admire them (at least I have :P). Every time you brew a new batch of kombucha a SCOBY will form on top so you won’t need to worry about having to obtain one more than once (on the contrary, you will be drowning in them).
The easiest way to get your hands on a SCOBY is to ask a kombucha brewing friend or friends of friends. I am also always happy to give one away if you are in the Copenhagen area (just email me or write me via Facebook). Alternatively, you can buy a SCOBY online. Alternatively, you can also grow your own SCOBY using store-bought kombucha.
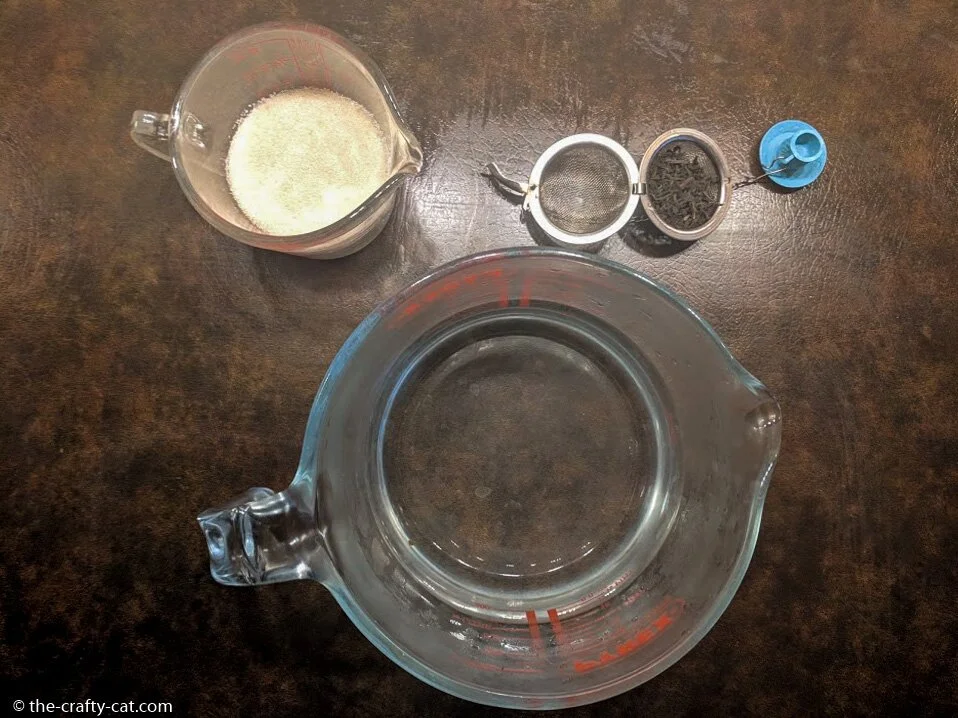
Once you got your specific ingredients (starter liquid and SCOBY), it’s time to get the general ingredients for the sweetened tea that forms the base of kombucha. It consists of tea, water, and sugar.
Tea
One of the downsides of kombucha (as opposed to fermenting with a ginger bug for example) is that it will only work with real tea which can sometimes feel a little restrictive. In other words, you need to use a tea that comes from the tea plant (Camellia sinensis). The best choice for beginners is black tea as it is the most forgiving. However, you can also brew kombucha with oolong tea, green tea, white tea or rooibos tea.
I would stay away from herbal teas or mate tea as they don’t contain the nutrients a SCOBY needs to be healthy. The same goes for tea blends such as chai tea as the oils in the herbs that have been added to the tea can go rancid during the fermentation process. If you have concerns about caffeine, you can use decaffeinated tea for making kombucha (so I’ve read at least, I haven’t tried it myself yet).
Water
I use tap water to make my kombucha and as long as your tap water is unchlorinated you can do the same. If you live in an area where the tap water is chlorinated I would recommend using filtered water. Chlorine has antibacterial properties and can, therefore, disrupt the bacteria balance in your kombucha or harm your SCOBY.
Sugar
The final ingredient you need is sugar, which is food for your SCOBY (not for you). Your SCOBY needs it to survive so don’t skip it. If you are concerned about your sugar intake, you can ferment your kombucha for longer. The longer you leave it, the less sugar will remain (since the SCOBY is consuming it). You can use white sugar, unbleached white sugar, or cane sugar. Once you are more advanced you can also experiment with honey (something I will be trying very soon), other natural sweeteners such as agave or maple syrup or coconut sugar are not very reliable when it comes to making kombucha so I would recommend staying away from them.
If you like this post, don’t forget to pin it!
How to start making kombucha – First fermentation
Now that you’ve gotten all the background information, it is time to start your first fermentation. Don’t worry, Kombucha is quite forgiving, as long as you stick to the ratios, there really isn’t much you can do wrong. If you still feeling insecure you can always message me on Instagram or Facebook. I’m happy to help.
Preparation & ratios
The first step should always be to assemble and clean your equipment. I also usually sterilize my jar using boiling water and make sure my working area is clean. Once you got everything ready, it is time to prepare your sweet tea. The ratios below are from Cultures for Health, that is what I usually follow when making Kombucha:
First fermentation steps
- Bring some water to a boil (or all, see step 3 for explanation).
- Once the water is boiling, stir in and dissolve the sugar. Add the tea and allow to steep at least 10 minutes and up to a few hours (depending on your personal preference).
- Allow the water to cool to room temperature. To speed up this process you can make the tea with only part of the water and then add cold water to cool it down or place the pot in an ice bath.
- Once the tea has cooled to room temperature, fill it into your brewing vessel and add the starter tea and SCOBY. Make sure your hands are clean when you touch the SCOBY and avoid bringing it in contact with metal (spoons etc.). Cover your container with a cloth or paper to avoid any contaminants and secure the cover with a rubber band.
- Place the jar in a room temperature spot away from direct sunlight, other ferments and where it won’t get bothered too much.
- The fermentation process of kombucha is anywhere between 7 to 30 days depending on your personal preference and environmental conditions. The longer you leave it to ferment the more acidic it will become. After about 7 days a new SCOBY should have formed at the top of your kombucha and you can start periodically checking your kombucha by pouring a little out and tasting it.
- When it reaches a flavor that is pleasant to you, your kombucha is finished. It is as simple as that.
What now? Second fermentation and beyond
Congrats! You have successfully made your first batch of kombucha. Once you like the flavor of your new kombucha, it is ready to be filled into bottles and enjoyed as it. If you find plain kombucha a little boring you can also flavor it in what is called a second fermentation. This process is also what will make your kombucha carbonate. You can read all about second fermentation, flavoring and other uses for your kombucha in the second post of the start making kombucha series.
Before you bottle your finished kombucha, repeat the above process to start your next batch of kombucha (i.e. prepare another pot of sweet tea). Move a SCOBY as well as the required amount of starter liquid to the new batch. At this point, you can choose whether or not you would like to separate the two SCOBYs (the old and the new one) if they have grown together. You can use both to make the new batch, brew two batches (in separate containers) simultaneously, move your new SCOBY to a so-called SCOBY hotel (more on that in a later post) or simply compost it (although I would recommend keeping at least one extra as backup).
Once you have gotten a hang of how to brew a basic kombucha you can also start experimenting. For example, you could try brewing your kombucha with different teas, experimenting with different batch sizes, vessels or locations or setting up a continuous brewing system (if you are really into kombucha :P).
Let me know how your kombucha journey is going and if there is anything else you would like to know
Other posts you may like:
This post was shared on: Homestead Blog Hop





3
Leave a Reply
Hi Laura, Do you have any more info on the second fermentation process? I have been making kombucha for a while now, but usually I just drink it when it’s ready, and add pressed juice, but I feel like I’m depriving the booch of it’s full potential..
Hey Janet,
There will be a second in-depth post about that this month (working on it already).
Because I like detailed posts I just felt it was too much to put it all in one.
This looks great! I have been very interested in starting to make kombucha. Thank you for the information!